Camel Pose - Information
Camel Pose is quite high on the difficulty list and should not be attempted until the body is warm, and even then with caution. Yet once working into such poses, you can feel the benefits of back-bend work.
I often see images of camel pose in magazines and on the internet which make me wince, in fear of those performing the pose, as there are lots of areas of caution to be observed. This isn't a pose to flow absent minded into. It is a pose of focus and extreme care.
The step by step instructions for Camel Pose which follow include build up work which you should follow to allow the body to gently open.
The main areas to be very aware of are the neck, lower back and knees. You may see images and videos of people throwing their heads right back. Tip - don't do that! The neck is quite fragile and cricking it back can be very damaging. Keep it in line with the spine and look upwards not backwards. Next, the lower back. The hips do not move backwards in the pose. If anything they move a little farther forwards. Imagine a child were to climb between the hips and elbows (if you are this far into the posture). There should be this much of a gap. If you lean back, you put undue pressure on the knees which can cause immense strain (rest assured, as someone with a disability in their knees I know this only too well).
If you begin to labour with the breath in Camel you are pushing yourself too hard. As with any pose you should be moving in harmony with your body. Don't push or force at all. Breathe and be.
It is good to follow Camel Pose with Childs Pose.
Camel Pose - Instructions Step by Step
Step 1
Kneel comfortably. If needed, kneel on a blanket. Knees should be hip distance apart. Feet can also be this distance or closer together. Lift the heart space and breathe comfortably.
Step 2
Try one side first and without moving the hips back lean one shoulder back, the elbow soft and the hand reaching down a little towards the back heel or ankle. You can allow a little twist as you warm the spine up. Use the abdominal muscles to help draw you back up again. Repeat to the other side.
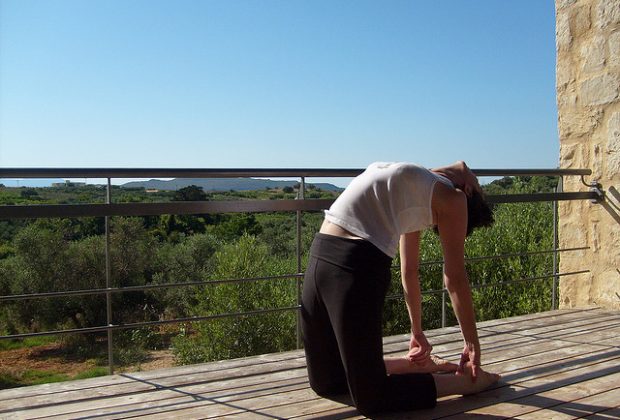
Step 3
Take both hands behind the back and support the hips with the hands. Again lift the heart space and take the upper body back a little. Mind the head! Don't throw the head back. If you are happy here, take both hands back towards the heels or ankles. Remember to keep the hips forwards, above the knees.
Benefits
- Great stretch for the hip flexors
- Opens the chest and heart space
- Opens the shoulders
- Builds support for the neck
- Builds back strength
Contraindications
Watch the knees! Take care of the neck and lower back. Avoid if have back issues such as slipped disk or spinal fusion. Avoid if suffering from abdominal hernia or if recently had a child. Neck issues - support head with hands and don't move back into the bend so deeply.