Downward Dog - Information
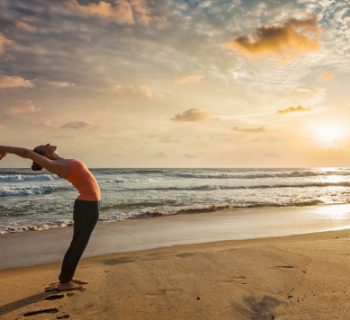
The downward dog yoga pose is probably one off the most popular and best known of all yoga poses. It is simple to achieve and has a great number of very good benefits for the body. It's name is derived from how dogs very cutely stretch their paws out in front of them and arch their backs. Who knew dogs were natural yogis!
Downward dog is also known as down dog, downward facing dog and its Sanskrit name Adho Mukha Svanasana. adho mean downward, mukah means face and svana means dog.
This is level 1 pose and suitable for most beginners. If you suffer from carpal tunnel syndrome or are heavily pregnant then avoid this pose. If in doubt then seek the advice of a professional yoga teacher.
The downward dog pose stretches the hamstrings, the calves, shoulders and hands. Incorporating this in to your daily practice will help strengthen parts of the body that are important for a lot of yoga.
Like many yoga poses downward dog is known to relieve feelings of stress and anxiety. It has a calming effect on the mind and body. It is also great for back pain and anyone that finds it difficult to get to sleep.
This pose is a slight inversion to the body which is known to improve blood flow. This is great for anyone suffering from headaches, menstrual cramps or the menopause. While your body is inverted the body has to work in a different capacity as the blood is flowing back to the heart more freely. This brings the nervous system back into alignment with the body making you feel calm.
Downward Dog - Instructions Step by Step
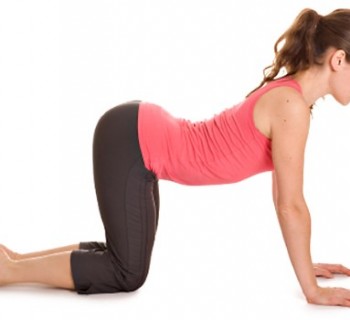
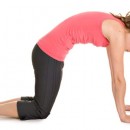
Step 1
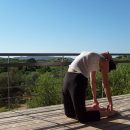
Come down on to your knees and place your hands out in front of you so that you are on all fours. Your knees should be underneath your hips and your hands should be slightly in front of your shoulders. You toes should be turned under towards the front. Spread your fingers and relax your upper back.
Step 2
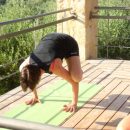
On the exhale and lift your knees and press your pelvis towards the ceiling. Tilt your sit bones to the front of the body. As your legs straighten be sure not to lock the knees. As you rise your feet should flatten our behind you.
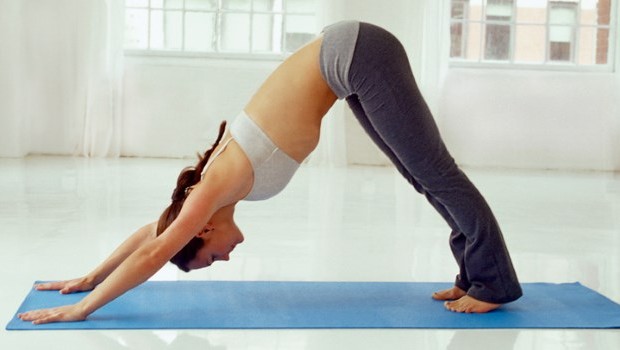
Step 3
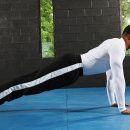
Press away from the mat with your feet and hands feeling a slight stretch across the shoulders and extend the bend while keeping in an A shape. Press through the index fingers and turn the arms out to face your thumbs. The lift should be coming from your arms and legs while letting your pelvis move into its natural position.
Step 4
Broaden your shoulder blades and firm them against your back and try to stretch then towards your tailbone. Lift the head slightly so your ears rest between your arms.
Benefits
- Shoulder Stretch
- Hamstring Stretch
- Calve Stretch
- Hand Stretch
- Improves Blood Flow
- Improves Digestion
- Improves Sleep
- Menopause Relief
- Relief from Menstrual Pain
- Relief from Headaches
- Relief from Back Pain
- Relief from Anxiety
Contraindications
It is not advisable to try this pose if you are heavily pregnant or you suffer from carpal tunnel syndrome.